Music Technology, Production, Tutorials
How Studio One 7’s AI Stem Separation Transforms Your Music
As someone who’s been deeply involved in music production and audio engineering for years, I can say that Studio One 7’s new stem separation tool is one of the most exciting updates in recent memory. This feature opens up fresh possibilities for remixing, sound isolation, and creative experimentation. Here, I’ll walk you through how to use this feature, share some technical insights, and offer tips on how to make the most of it.
What is Stem Separation in Studio One 7?
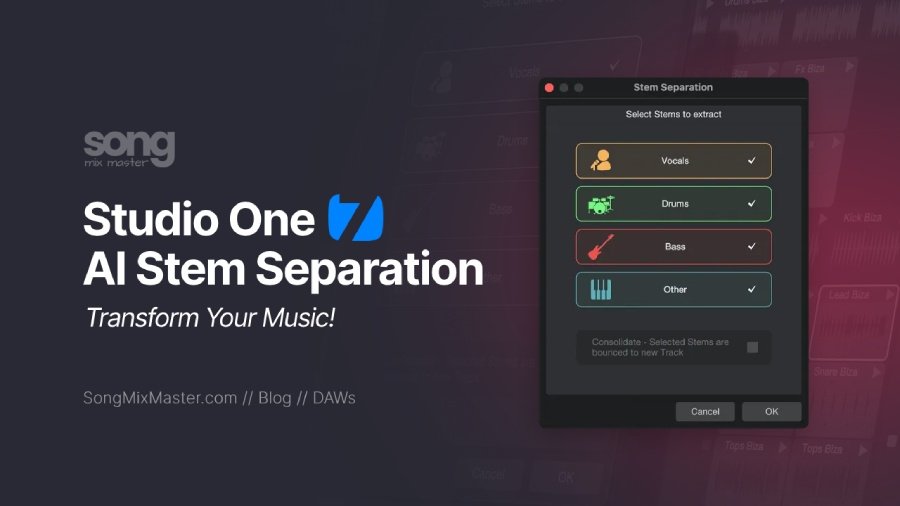
Studio One 7 now offers built-in AI-powered stem separation, which allows you to extract individual stems such as vocals, drums, bass, and other instruments from a stereo mixdown. Whether you’re a DJ, producer, or mixing engineer, this tool is a game-changer, letting you pull apart tracks for remixes, mashups, or detailed reworking.
Gone are the days when the original session files were needed to access individual elements. This new tool allows me to quickly isolate specific sounds from a mixed track, even if I can only access a stereo file. It’s perfect for moments when I want to extract a vocal for a remix or enhance the drums on a track where I don’t have access to the entire multitrack session.
Using the Stem Separation Tool


Getting started with this tool is simple. Here’s a quick step-by-step guide:
- Right-click on the Track Event: Select any stereo mixdown in your timeline, right-click, and navigate to the “Audio” option.
- Choose ‘Separate Stems’: This new feature is under the “Separate Stems” command. Once selected, a dialogue box appears where you can choose which stems to extract: vocals, drums, bass, or other.
- Run the Separation: After making your selections, hit “OK.” The AI algorithm processes the track and separates it into the chosen stems, saving each to a new folder within your project.
In a few seconds, you’ll have a folder containing the isolated stems, each ready for further processing.
The Technology Behind It
Studio One 7 uses a low latency real-time algorithm for its stem separation, which has impressed me with its accuracy and quality. The AI effectively analyzes and extracts elements without significant artifacts, even in dense mixes. While no separation tool is perfect, this one handles complex mixes surprisingly well. The extracted stems maintain a high level of clarity, making it a reliable tool for professionals.
I obtained equally good results using the PEEL STEMS plugin from Zplane, and I wonder if PreSonus has integrated the same algorithm from Zplane into Studio One 7’s stem separation feature. I don’t have any official information to confirm this, though, so it’s purely speculation at this point.
Tips for Using Stem Separation Effectively
Here are a few tips based on my experience with the feature:
- Always Extract All Stems: I recommend selecting all stems initially, even if you only want to isolate one element (like vocals). This gives you the flexibility to experiment with the different elements separately.
- Use with Loop-Based Content: The stem separation feature can be particularly handy if you work with loop-based tracks. I often use it to isolate drum loops from melodic elements, which allows me to get creative with filtering or remixing.
- Layer Extracted Vocals: One of my favorite uses is taking the isolated vocals and layering them with different instrumentation. For instance, I might pair a vocal from a pop track with a completely different acoustic arrangement, like a piano or cello.
- Modify Stems for Mashups and Remixes: DJs will appreciate this feature when creating mashups. Extracting vocals from one song and syncing them with an entirely new instrumental is now as simple as a few clicks.
Final Thoughts
Studio One 7’s stem separation feature has quickly become invaluable to my workflow. The ease of use and the power of built-in AI offer flexibility that opens up new creative avenues. This feature is worth exploring for anyone serious about remixing or reworking tracks.
Whether you want to isolate vocals for a remix, tweak the drums on a mastered track, or experiment with mashups, stem separation in Studio One 7 makes it easier to take your projects to the next level. Give it a try! I think you’ll be as impressed as I am!
Also read: How to Use Sends, Buses, and VCAs in Studio One 7


Disclaimer: Any references to any brands on this website/webpage, including reference to products, trademarks, brands and companies, are provided for description purposes only. We don't have any association with or endorsement by these brands or companies. Some of the links on our blog may be affiliate links. This means if you click on these links and make a purchase, we may earn a commission at no extra cost to you.
Check Out My New Fabfilter Pro-Q3 Presets Pack!
You may also like to read...
From Bedroom to Billboard With Best Online Mixing and Mastering Services
6 Important Differences Between Mixing and Mastering
5 Tips for Using The Reverb Effect in Music Production
Vocal Compression: Best Plugins and Settings for Pro Mixes
7 Best Value Studio Microphones For Recording Vocals
Review of the Empirical Labs EL8 Distressor Plugin by UAD
Book My Mixing & Mastering Services