
Mixing
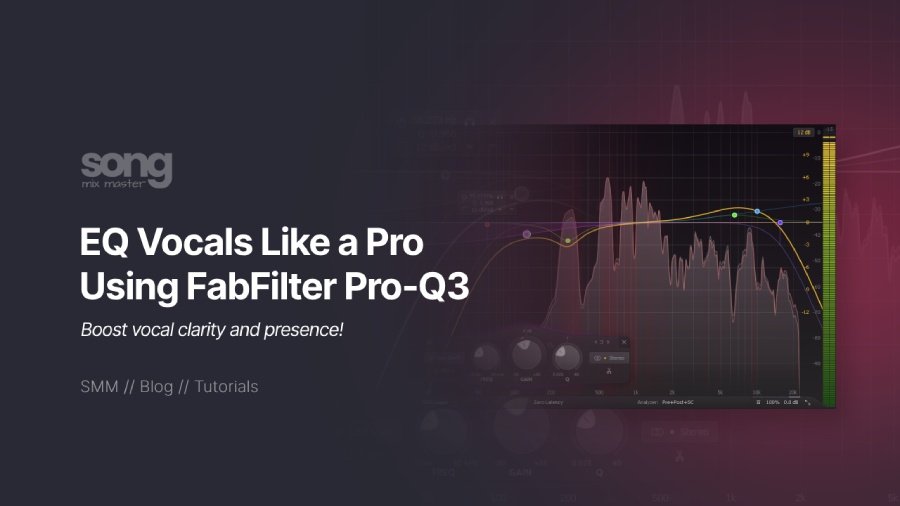
How To EQ Vocals Like a Pro Using FabFilter Pro-Q3
Vocals are a unique element in any song, completely different from other instruments. Each vocal recording and vocalist is distinct, and understanding how to EQ vocals involves good monitoring and critical listening. In this article, I will show you some essential steps that will guide you to achieve excellent results.
These are the techniques I’ve relied on to get vocals to sound their best, regardless of the style or vocalist. Even if you don’t use FabFilter Pro-Q3, you can still achieve great results with other good EQ plugins (TDR Nova, Ozone EQ, Waves F6, Kirchhoff, etc).
Let’s dive into the key steps:
Step 1: High-Pass Filter (Remove Low-End Rumble)

No matter how good the mic or room is, every vocal recording will pick up unwanted low frequencies, whether it’s room rumble, mic handling noise, or even the air conditioner humming in the background.
In Pro-Q3, I add a high-pass filter to clear out this mess. I start around 90 Hz with a 24 dB/oct slope for most vocals and adjust based on the vocalist. I might go a bit lower for deeper male vocals, around 70 Hz (without thinning out the vocal), and I’ll go as high as 100-150 Hz for female vocals or thinner voices.
Settings:
- Frequency: Start around 90-120 Hz.
- Slope: 24 dB/oct for a steeper cut, or 12 dB/oct if you want a gentler roll-off.
Pro Tip: If the vocal is very deep or has a lot of proximity effect, you might need to start your high-pass filter around 70 Hz. For thinner vocals, you can go higher, up to 150 Hz.
Pro-Q3 Tip: For vocals, Natural Phase processing is generally the best choice because it provides a balance between sound quality and latency.
Step 2: Tame Boominess (Low-Mid Cuts)

The next step is where I focus on reducing muddiness, which is typically found in the 200 to 500 Hz range. Low-mid frequencies are where muddiness and boominess live in vocal tracks. Too much energy in this range can make the vocals sound muddy and unclear.
This is especially noticeable when the vocal is combined with other instruments. I cut these frequencies with a moderate Q to ensure I’m not affecting too much of the vocal’s warmth.
Settings:
- Frequency: 200-350 Hz
- Gain: -2 to -5 dB
- Q: Set a moderate Q (1.5 to 2) to target the boomy frequencies without affecting the surrounding frequencies too much.
Pro Tip: Solo the vocal while sweeping this frequency range. Listen for resonances or overly boomy spots and notch those out.
Step 3: Deal with Nasal Frequencies

Nasal tones in vocals are tricky and tend to live between 800 and 1500 Hz. I’ve encountered this problem countless times, especially with vocals recorded in small or untreated rooms. This gives the vocal a “honky” sound, which can distract from the performance.
Using the same frequency sweeping technique, I find the nasal peak and reduce it with a narrow Q cut.
Settings:
- Frequency: 800-1500 Hz
- Gain: -2 to -3 dB
- Q: A narrow Q (4-5) to target the specific nasal frequency.
Pro Tip: Don’t go overboard with the cut here. A little reduction goes a long way, and too much can make the vocal sound lifeless.
Step 4: Add Presence and Clarity (Mid-Boost)

Boosting your vocals’ presence and clarity is key to making them stand out in the mix. A 2.5 to 5 kHz boost will help the vocals cut through and become more prominent in the mix.
Settings:
- Frequency: 2.5-5 kHz
- Gain: +1 to +4 dB, depending on the recording
- Q: A broad Q (0.7 to 2) to ensure a natural lift without sounding harsh.
Pro Tip: Boost carefully in this range, as too much can make the vocals sound harsh or “tinny.” Make small adjustments while playing the vocal in context with the rest of the mix.
Step 5: Add Air (High-End Boost)

For that final touch of polish, I like to add some “air” to the top end of the vocal. This gives the vocal a professional, open sound and helps it feel light and natural in the mix. I do this with a high-end shelf boost in the 8-12 kHz range.
Settings:
- Frequency: 8-12 kHz
- Gain: +2 to +5 dB
- Q: A very broad Q (use the “shelf” mode for a gentle high-end lift).
Pro Tip: Be subtle here. You’re looking to enhance the natural brightness of the vocal without introducing sibilance or harshness. Use Dynamic EQ in Pro-Q3 to control peaks if needed.
Step 6: Control Sibilance (De-Essing)

Boosting the high-end can often bring out vocal sibilance, which makes the “S” and “T” sounds too harsh. I usually tackle this with a dynamic EQ in Pro-Q3, targeting the 5-10 kHz range. If you want to do this with a plugin specialized in de-essing, you can skip this step or make a subtle change and then control the sibilants with another de-esser plugin next in your FX chain.
Also, read my 15 Best De-Esser Plugins For Better Sibilance Control
Settings:
- Frequency: 5-10 kHz (where most sibilance occurs)
- Gain: -2 to -6 dB (set dynamically)
- Q: Narrow Q (4-5) to isolate sibilance without affecting the rest of the vocal.
Pro Tip: Adjust the threshold of the dynamic EQ so it only activates when sibilance becomes too harsh. This will keep your high-end boost clean while reducing those sharp sibilant sounds.
Bonus: Add Warmth with Harmonic Saturation

I often use harmonic saturation to give the vocal a bit more warmth and character. Emulating classic analog gear can really bring a vocal to life and help it sit perfectly in the mix. I personally like to use Pultec EQP-1A emulations to add brightness or Neve 1073 to boost the low-mids to add richness.
If you want to find out more about this subject, read my article about How To Use a Pultec EQ For Warm And Punchy Sound
Final Tips:
- Check Your Mix in Context: Always listen to the vocal with the rest of the mix to ensure it sits well and complements the other instruments.
- Use Automation: If parts of the vocal vary in volume or tone, consider using automation on EQ bands to ensure consistency.
- A/B Your Changes: Regularly bypass the EQ to ensure your adjustments improve the vocal rather than overprocess it.
By following these steps and using FabFilter Pro-Q3, you’ll be well on your way to achieving professional-sounding vocals that sit perfectly in any mix.
If you’re looking to streamline your vocal EQ process even further, check out my FabFilter Pro-Q3 Presets Pack, specifically designed for professional results across various vocal types.
Disclaimer: Any references to any brands on this website/webpage, including reference to products, trademarks, brands and companies, are provided for description purposes only. We don't have any association with or endorsement by these brands or companies. Some of the links on our blog may be affiliate links. This means if you click on these links and make a purchase, we may earn a commission at no extra cost to you.
Check Out My New Fabfilter Pro-Q3 Presets Pack!
You may also like to read...
Is Intel NUC 13 Pro the Best Mini PC for Audio Production?
Mastering Basics: Essential EQ and Compression Tips
Top 10 Best Microphones For Rappers & Singers In 2024
The Warm, Expansive Sound of Analog Summing Mixing
My Top 10 Best EQ VST Audio Plugins I Use in 2024
Analog vs. Digital Mixing: A Sound Engineer’s Perspective
Book My Mixing & Mastering Services