
Mastering
How To “Glue” Your Mix Using the SSL Bus Compressor by Waves
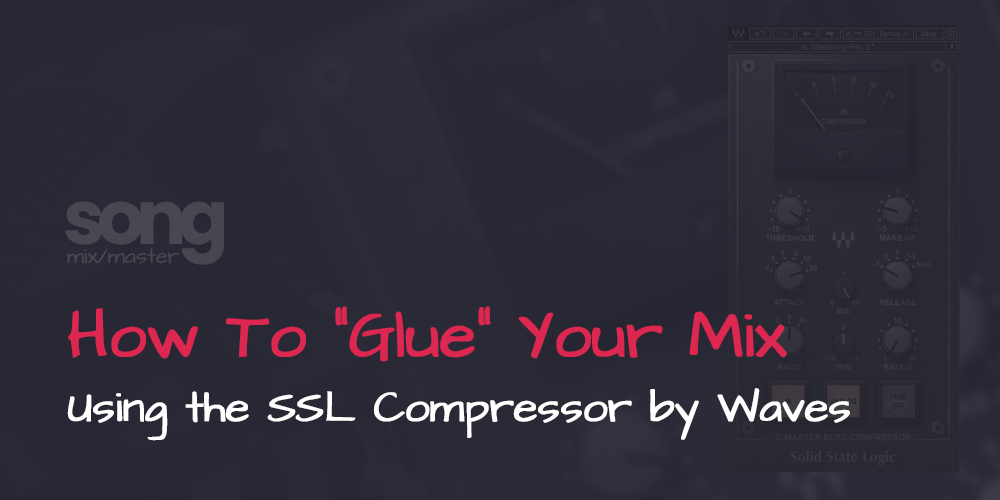
The Waves SSL Compressor is a software plugin that emulates the SSL G Series Bus Compressor, a classic analog compressor used in SSL (Solid State Logic) mixing consoles.
It’s highly regarded in the audio engineering and music production industry for its ability to shape and enhance the dynamics of a mix, which makes it one of the best plugins for mastering.
The SSL G Series Bus Compressor, originally a hardware unit, is known for its exceptional audio quality, transparency, and unique sonic character. It imparts a subtle warmth and analog color to the audio passing through it, contributing to its legendary status.
The hardware version of the SSL G Bus Compressor has fixed attack and release times, making it easy to use for mix bus compression. This simplifies the process and provides a great starting point for achieving the desired sound.
Using the Waves SSL Compressor Plugin on the master bus to “glue” the mix. Glue compression is a common technique in mixing and mastering.
The SSL G Master Buss Compressor is a classic hardware compressor emulated by Waves. It’s known for its ability to add cohesion and glue to a mix while controlling dynamics.

Here’s how you can set it up and adjust its settings for that purpose:
Insert the SSL Compressor on the Master Bus
The first step is to add the Waves SSL G Master Buss Compressor plugin to your master bus channel in your digital audio workstation (DAW). If you don’t have this plugin then I recommend you to visit the official Waves Audio website from where you can get your copy of Waves SSL Compressor Plugin.
Set the Ratio
Start by setting the ratio to a moderate value. When I work with a compressor, the first step is to set the ratio. This is very important because I know what to do next. I call this: the anticipation method.
In this case, a good starting point is a 4:1 ratio, where for every 4 dB that the input signal exceeds the threshold, the compressor will allow only 1 dB to pass through to the output. In other words, it reduces the output level by 3 dB for every 4 dB above the threshold, providing a moderate level of compression.
This 4:1 ratio is versatile and works well with a wide range of musical genres and styles. If you need more or less compression, you can fine-tune the ratio accordingly, but 4:1 is often a good starting point before making further adjustments.
Adjust the Threshold
Set the threshold so that the compressor engages when the mix becomes a bit too dynamic. The exact threshold level depends on the material you are working with. Start with a threshold that is just barely touching the signal. It should only engage during the loudest parts of the mix.
Gradually reduce the threshold to the point where the compressor starts to have a noticeable impact on controlling the dynamics, but avoid excessive compression.
As a starting point, aim for a gain reduction in the range of 2-4 dB during the loudest peaks of the mix. This can be enough to provide cohesion and control without making the mix sound overly compressed.
If you want a more subtle, transparent effect, you might target even less gain reduction, in the range of 1-2 dB. For more aggressive compression, you can go for higher gain reduction, but be cautious not to squash the mix and lose its natural dynamics.
Attack and Release Times
The SSL G-Master Bus Compressor has fixed attack and release times that are designed to work well for mix bus compression. The attack time is around 30ms, and the release time is around 0.3s.
A 30ms attack time is a good starting point for mix bus compression because it allows the compressor to “glue” the mix together by subtly shaping the dynamics without making the mix sound overly processed. It’s a balance between controlling dynamics and retaining the musicality of the mix.
The choice of an attack time of around 30ms for mix bus compression with the Waves SSL G-Master Bus Compressor or similar hardware emulations is a typical starting point, and it’s based on the characteristics and design of this specific compressor model.
The 30ms attack time is not a hard-and-fast rule but a guideline, and it can be adjusted to suit the needs of your mix. This can help preserve the punch and impact of the drums and other instruments, making the mix sound more natural and dynamic.
Makeup Gain
After setting the compression parameters, adjust the makeup gain to match the output level with and without compression. The goal is to maintain a similar overall loudness level as your uncompressed mix. This can be done by ear or using a level meter.
Use the Mix Bus Compressor as a Limiter
The SSL Compressor can also serve as a limiter to prevent peaks from clipping. Push the input level slightly until it engages and holds the peaks in check. However, be careful not to overdo this, as excessive limiting can lead to a loss of dynamics and an unnatural sound.
Listen and Fine-Tune
Listen to the mix with and without the SSL Compressor enabled. Tweak the settings as needed to achieve the desired “gluing” effect. The idea is to make the mix sound more cohesive, with the elements fitting together better, while maintaining a dynamic and musical feel.
A/B Testing
Do A/B testing by bypassing the compressor to compare the compressed and uncompressed versions of your mix. This will help you ensure that the compression is enhancing your mix and not causing any negative artifacts.
The key to using the Waves SSL Compressor for mix bus compression is subtlety. You don’t want it to be overly aggressive; it should be a gentle touch that helps bring the mix elements together and maintain control over dynamics.
The specific settings may vary depending on the genre and style of music, so trust your ears and make adjustments accordingly.
Also, check out my list of the Best Free Compressor VST Plugins
Disclaimer: Any references to any brands on this website/webpage, including reference to products, trademarks, brands and companies, are provided for description purposes only. We don't have any association with or endorsement by these brands or companies. Some of the links on our blog may be affiliate links. This means if you click on these links and make a purchase, we may earn a commission at no extra cost to you.
Check Out My New Fabfilter Pro-Q3 Presets Pack!
You may also like to read...
Top 30 Best Mastering Audio Plugins In 2024
How Much Does Audio Mixing & Mastering Cost?
How to Use a De-Esser to Reduce Sibilance in Vocal Mixing
Understanding RMS and LUFS in Audio Mastering
Top 21 Acoustic Guitar Songs to Improve Your Playing Skills
Building The Best Music Production PC For 2024
Book My Mixing & Mastering Services