Audio Plugins, Mixing
How to Use Waves Vocal Rider – A Step-by-Step Guide
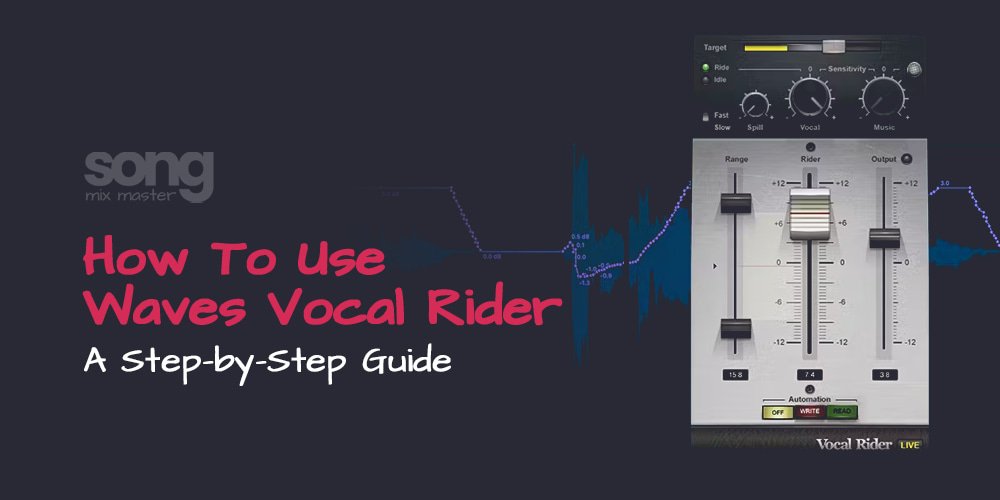
Vocal Rider by Waves is a dynamic tool designed to manage vocal levels automatically within a mix. It preserves the natural sound of the vocals while ensuring they remain prominent and consistent throughout a track.
This article provides a detailed guide on effectively using Vocal Rider, including its placement in the FX chain, automating vocal levels, a brief case study, and additional tips for studio recordings and live performance setups.
Understanding Vocal Rider

Vocal Rider is an automatic volume fader that adjusts the vocal level in real-time, ensuring it stays at a target level relative to the rest of the mix. Unlike traditional compressors, which can color the sound and make vocals sound over-processed, Vocal Rider operates transparently, adjusting gain without adding any artifacts or latency.
Key Features
- Automatic Gain Adjustment: Adjusts vocal levels to maintain a consistent output.
- Sidechain Capabilities: The vocals can react dynamically to other elements in the mix.
- Write Automation: Generates an automation track that can be fine-tuned manually.
- Real-Time Operation: Suitable for live environments due to its zero-latency processing.
Setting Up Vocal Rider
- Insertion Point in the FX Chain: Vocal Rider should typically be placed at the beginning of the vocal processing chain. This allows it to adjust the raw vocal levels before additional effects like EQ or reverb are applied, ensuring that subsequent processors work consistently on a well-balanced signal.
- Adjusting the Target Level: Set the target level to ensure that the vocals sit prominently in the mix without overshadowing other essential elements. This setting will depend on the genre and the desired impact of the vocals within the track.
- Configuring the Sidechain: To enable the Vocal Rider to adjust the vocal levels based on the overall mix, feed a submix of the instrumental tracks into its sidechain. This helps the plugin dynamically adjust the vocals against the instruments’ varying loudness.
Automating with Vocal Rider

Vocal Rider provides the functionality to write its gain adjustments directly to an automation track. This feature is invaluable as it allows for manual tweaks post-adjustment, giving you fine control over the final vocal dynamics.
- Activating Write Mode: Engage the write mode during playback to record the Vocal Rider’s adjustments into the DAW’s automation lane.
- Fine-Tuning Automation: Switch to manual mode to tweak the automation curves after recording the automation. This step is crucial for custom tailoring the dynamics of the vocal performance, addressing any anomalies, or enhancing emotional expressions.
Using Presets
Vocal Rider by Waves has several presets designed to help users quickly set up the plugin for various scenarios, ranging from subtle vocal leveling to more aggressive control for live performances.
These presets can be very useful, particularly when starting with the plugin. They provide a solid foundation you can tweak to suit your needs.
Most presets have a default target level set, but adjusting this based on your mix’s specific needs is crucial. The target level will determine how prominently the vocals appear over the rest of the track.
Best Presets to Start With
- Live Vocal: This preset is designed for live performance settings where the vocals must be consistent without latency. It’s a good starting point for live engineers who must ensure that vocals cut through the mix without manual fader adjustments.
- Moderate Riding: Ideal for studio recordings, this preset offers a balanced approach to vocal leveling. It provides a moderate amount of gain adjustment without making the vocals sound overprocessed. It’s an excellent choice for pop, rock, and other genres where vocal dynamics should feel natural.
- Music Low Riding: This preset is perfect for situations where vocals need subtle adjustments to maintain their presence without significantly altering their dynamic range. It is suitable for acoustic and jazz recordings where the natural dynamics of the performance are crucial.
- Speech: Designed for podcasts, interviews, and dialogue in video productions, this preset helps keep spoken words consistent, ensuring clarity and intelligibility.
- Tight Riding: This preset is useful for dense mixes where the vocals need to compete with several other elements. It aggressively manages vocal levels, ensuring they remain upfront. It’s useful for genres like EDM and hip-hop, where vocal presence needs to stand up to heavy instrumentation.
Also read: The Art of Song Mixing: Techniques for a Pro-Level Sound
Best Practices for Live and Studio Use
- Live Performance: Vocal Rider adds no latency, so it’s ideal for live use. Ensure it’s set to react to changes quickly enough to adjust to live dynamics without becoming distracting.
- Studio Mixing: Use the studio’s sidechain functionality to make the vocals breathe with the mix, ensuring clarity and presence without overpowering the instrumental parts.
Vocal Rider by Waves can be very helpful for novice and professional audio engineers. It simplifies the labor-intensive process of manual vocal level adjustments, ensures consistent vocal presence, and interacts intelligently with the mix’s dynamics.
Integrating Vocal Rider into your workflow can significantly enhance the quality and efficiency of your vocal production in the studio and on stage.
Disclaimer: Any references to any brands on this website/webpage, including reference to products, trademarks, brands and companies, are provided for description purposes only. We don't have any association with or endorsement by these brands or companies. Some of the links on our blog may be affiliate links. This means if you click on these links and make a purchase, we may earn a commission at no extra cost to you.
Need Professional Mixing & Mastering?
You may also like to read...
What Is Sidechain Compression – Why Use Sidechain Compression
Best Affordable Studio Speakers (Monitors) For Home Studios
5 Best Compressor Plugins for Vocal Parallel Compression
Mastering at the Right Loudness for Spotify, Apple Music, YouTube, etc.
How to Use a DAW: Tips for the Aspiring Professional
Creating A Stereo Mix: Crafting The Perfect Stereo Track