Production, Tutorials
How to Make FL Studio Run Faster on Your Computer
There’s nothing more frustrating than trying to produce a new beat in FL Studio only to have your PC start freezing, making strange sounds, and feeling like it’s about to explode. Don’t worry; there are several settings you can adjust to make FL Studio run smoothly again.
In this article, I’ll walk you through a series of steps on how to optimize FL Studio for better performance on your music computer.
Let’s get started!
Step 1: Use the Correct Audio Driver

The first and most crucial step is ensuring you’re using the correct audio driver.
- Go to the Options Menu: Click on the options menu at the top and select “Audio Settings.”
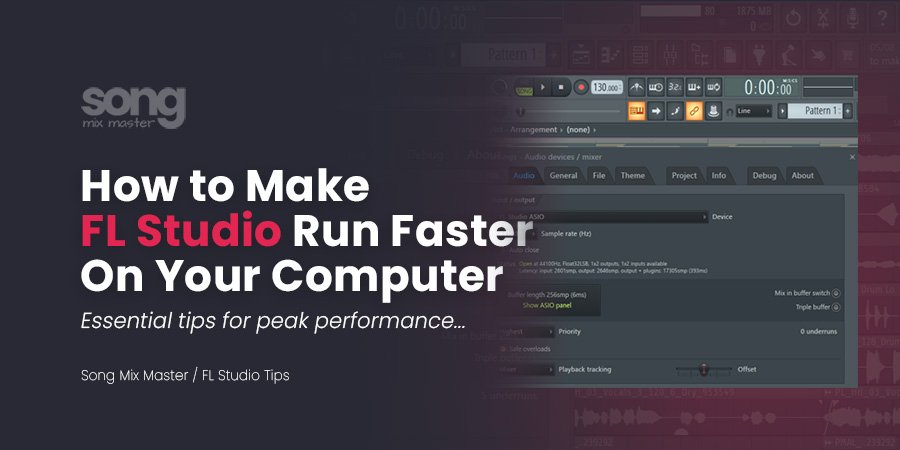
- Choose the Right Audio Driver: In the audio settings, you’ll find a drop-down menu for the audio driver FL Studio uses. This driver connects your audio software with your hardware.
- Select FL Studio ASIO Driver: If you’re using an audio interface, it should appear in this list. Choose the FL Studio ASIO driver or the ASIO driver for your specific audio interface for optimal performance.
Step 2: Adjust the Buffer Length

Adjusting the buffer length is vital for smooth performance, especially on slower PCs.
- Access Buffer Length Settings: In the audio settings, find the buffer length settings.
- Set Buffer Length: If you don’t have a dedicated audio interface (like my Focusrite 2i2 here) try setting the buffer length to 1024 or even 2048 samples. This adjustment adds a small latency between actions in FL Studio, which can be annoying for live playing but a lifesaver for production as it gives FL Studio more time to process sounds, preventing lag.
Step 3: Optimize Your CPU

Make sure FL Studio is utilizing all the available CPU cores:
- Enable Multi-Threaded Processing: In the audio settings, ensure that “Multithreaded Generator Processing” and “Multithreaded Mixer Processing” are enabled.
- Utilize All CPU Cores: Most modern CPUs have at least four cores. Enabling these settings allows FL Studio to use all available cores, enhancing performance.
Step 4: Enable Smart Disable
This setting helps manage the power usage of plugins:
- Enable Smart Disable: In the same audio options menu, enable “Smart Disable.” This feature turns off unused plugins in the background, ensuring that active plugins have full access to your system’s power.
Step 5: Consolidate Tracks

Rendering MIDI tracks to audio can reduce CPU load:
- Consolidate Tracks: Right-click on your track in the playlist and select “Consolidate.”
- Choose From Track Start: This option creates a WAV or MP3 file, removing the need for FL Studio to process MIDI notes continuously. This significantly reduces stress on your computer.
Step 6: Change Windows Power Plan

Ensure your computer is running at full power:
- Open Windows Settings: Go to your Windows settings.
- Search for Power Plan: Type “power plan” in the search bar and select “Choose a power plan.”
- Select High Performance: Enable the “High Performance” plan. This setting allows your computer to use more power, improving performance without significantly affecting your electricity bill.
Step 7: Use an External SSD

If your computer uses old hard drives, an external SSD can boost performance:
- Get an External SSD: Purchase an external SSD.
- Store Projects and Samples: Move your FL Studio projects and sample libraries to the SSD. This will significantly reduce load times and improve performance.
Also, check out my comprehensive guide about building the best music production computer.
Final Thoughts
By following these steps, you can significantly enhance FL Studio’s performance, making your music production and mixing process smoother and more enjoyable. From selecting the right audio driver to consolidating tracks and using external SSDs, each tip helps reduce stress on your PC and allows FL Studio to run efficiently, giving you more time to focus on making great music.
Also, check some of my FL Studio tutorials:


Disclaimer: Any references to any brands on this website/webpage, including reference to products, trademarks, brands and companies, are provided for description purposes only. We don't have any association with or endorsement by these brands or companies. Some of the links on our blog may be affiliate links. This means if you click on these links and make a purchase, we may earn a commission at no extra cost to you.
Check Out My New Fabfilter Pro-Q3 Presets Pack!
You may also like to read...
How To Submit Your Demo to a Record Label
How To Mix And Master My Song – Understanding Song Mastering
The Impact of Extreme Temperatures on Audio Gear
What is Dithering in Audio and How It Works
How To “Glue” Your Mix Using the SSL Bus Compressor by Waves
Vocal Compression: Best Plugins and Settings for Pro Mixes
Book My Mixing & Mastering Services